The setup process for dual-SIM smartphones varies slightly depending on the device manufacturer and operating system (iPhone or Android), but the general setup procedure is summarized below.
Basic Dual SIM Setup Instructions (iPhone)
iPhones support dual SIM (physical SIM + eSIM) from the iPhone XS onwards.
*Also supported from the iPhone SE (2nd generation) onwards.
iPhone 17 does not support physical SIM (eSIM + eSIM).
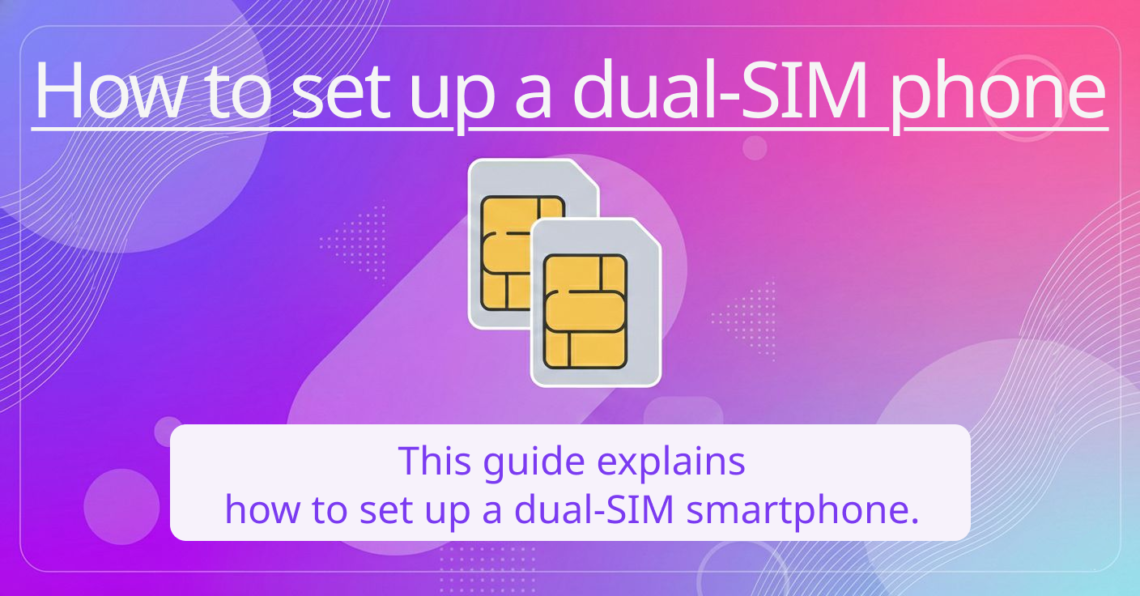
By setting up dual SIM, you can have two phone numbers on standby simultaneously, allowing you to separate work and personal use, or use a local eSIM while traveling abroad.
1. Set up the eSIM (if you haven’t already).
- Scan your carrier’s QR code or activate the eSIM using the dedicated app.
- Go to “Settings” → “Cellular” → “Add Cellular Plan”.
- Wait for the line to activate.
2. Set up the physical SIM (if necessary)
- Insert the SIM card into the iPhone’s SIM slot.
- It will be automatically recognized → Follow the on-screen instructions to complete the setup.
3. Set a label (name of the service line) (e.g., “ahamo”, “Rakuten Mobile”, etc.)
- You can freely change the names such as “Primary Line” and “Secondary Line”.
- You can also set labels (e.g., “Kab and”, “Rakuten Mobile”, etc.).
4. Usage settings
- You can specify the line used for calls, SMS, and data communication.
- When making a call, you can set “Call using this number” for each contact.
5. Check dual SIM
If the “antenna pictogram” (the icon indicating signal strength) shows two rows, the setup is complete.

You can also check the details by swiping down from the top right of the screen.


Basic Dual SIM Setup Instructions (Android Version)
Flexible dual-SIM configurations are possible, including physical SIM + eSIM (common), two physical SIMs, and two eSIMs.
Here, we introduce a “common setup method” that can be used regardless of the manufacturer or carrier.
1. Check if your device supports dual SIMs.
- It has two physical SIM slots
- or a physical SIM slot plus “eSIM compatible”
- The settings app has a “Network & Internet” > “SIM” section.
*Many Android devices (Pixel, Galaxy, Xperia, AQUOS, OPPO, Xiaomi, Motorola, etc.) are compatible.Some *budget models and carrier-locked devices may not support DSDV (4G + 4G).
2. Insert the physical SIM card.
- Turn off your smartphone.
- Remove the SIM tray (most require a pin).
- (If using two physical SIMs) Place both SIM cards into the tray.
- Return the tray and turn on the power.
3. Set up the eSIM (if you haven’t already).
- Settings → Network & Internet
- SIM → Add eSIM
- Scan QR code or add via carrier app
- Wait for activation
4. Set a label (name of the line) (e.g., “Cuband”, “Rakuten Mobile”, etc.)
- Settings → Network & Internet → SIM
- Select a line and change its name
Example: Primary line (Cuband) / Secondary line (Rakuten Mobile)
Work / Personal
Data / Calls, etc.
*The name of the SIM card, label, etc. may vary depending on the model.
5. Select which SIM to use
- Mobile data: You can choose which SIM to use.
- Voice calls: You can choose the default SIM or set it to select each time.
- *When making a call, you can set “Call using this number” for each contact.
- SMS (Short Messages): Select which SIM to send from.
6. Check dual SIM
If the “antenna icon” (the icon indicating signal strength) shows two lines, the setup is complete.